
ghost 自定义网站结构

出于博客管理的考虑需要对 ghost 博客进行结构化管理(其实就是网站分目录管理)。举例说明:原先的网站结构是这样:
https://edony.ink/A
https://edony.ink/B
https://edony.ink/C
https://edony.ink/D
为了方便会员管理、主题分享、内容结构化管理等需求,希望可以变成如下结构:
# group-1 所有 post 的列表
https://edony.ink/group-1/
https://edony.ink/group-1/A
https://edony.ink/group-1/B

# group-2 所有 post 的列表
https://edony.ink/group-2/
https://edony.ink/group-2/C

# home page
https://edony.ink/D

# 其他说明:
# 为了方便分享、展示等,上述链接都是永久链接不是 dynamic routing
ghost routing 简介
ghost 为博客提供了 routing 的能力,主要是用来映射 URL 跟网站资源的(数据、模版等等)。ghost routing 提供了如下几个分类:
- 自定义路由(route)
- 集合(collection)
- 分类(taxonomies)
如何使用 ghost routing
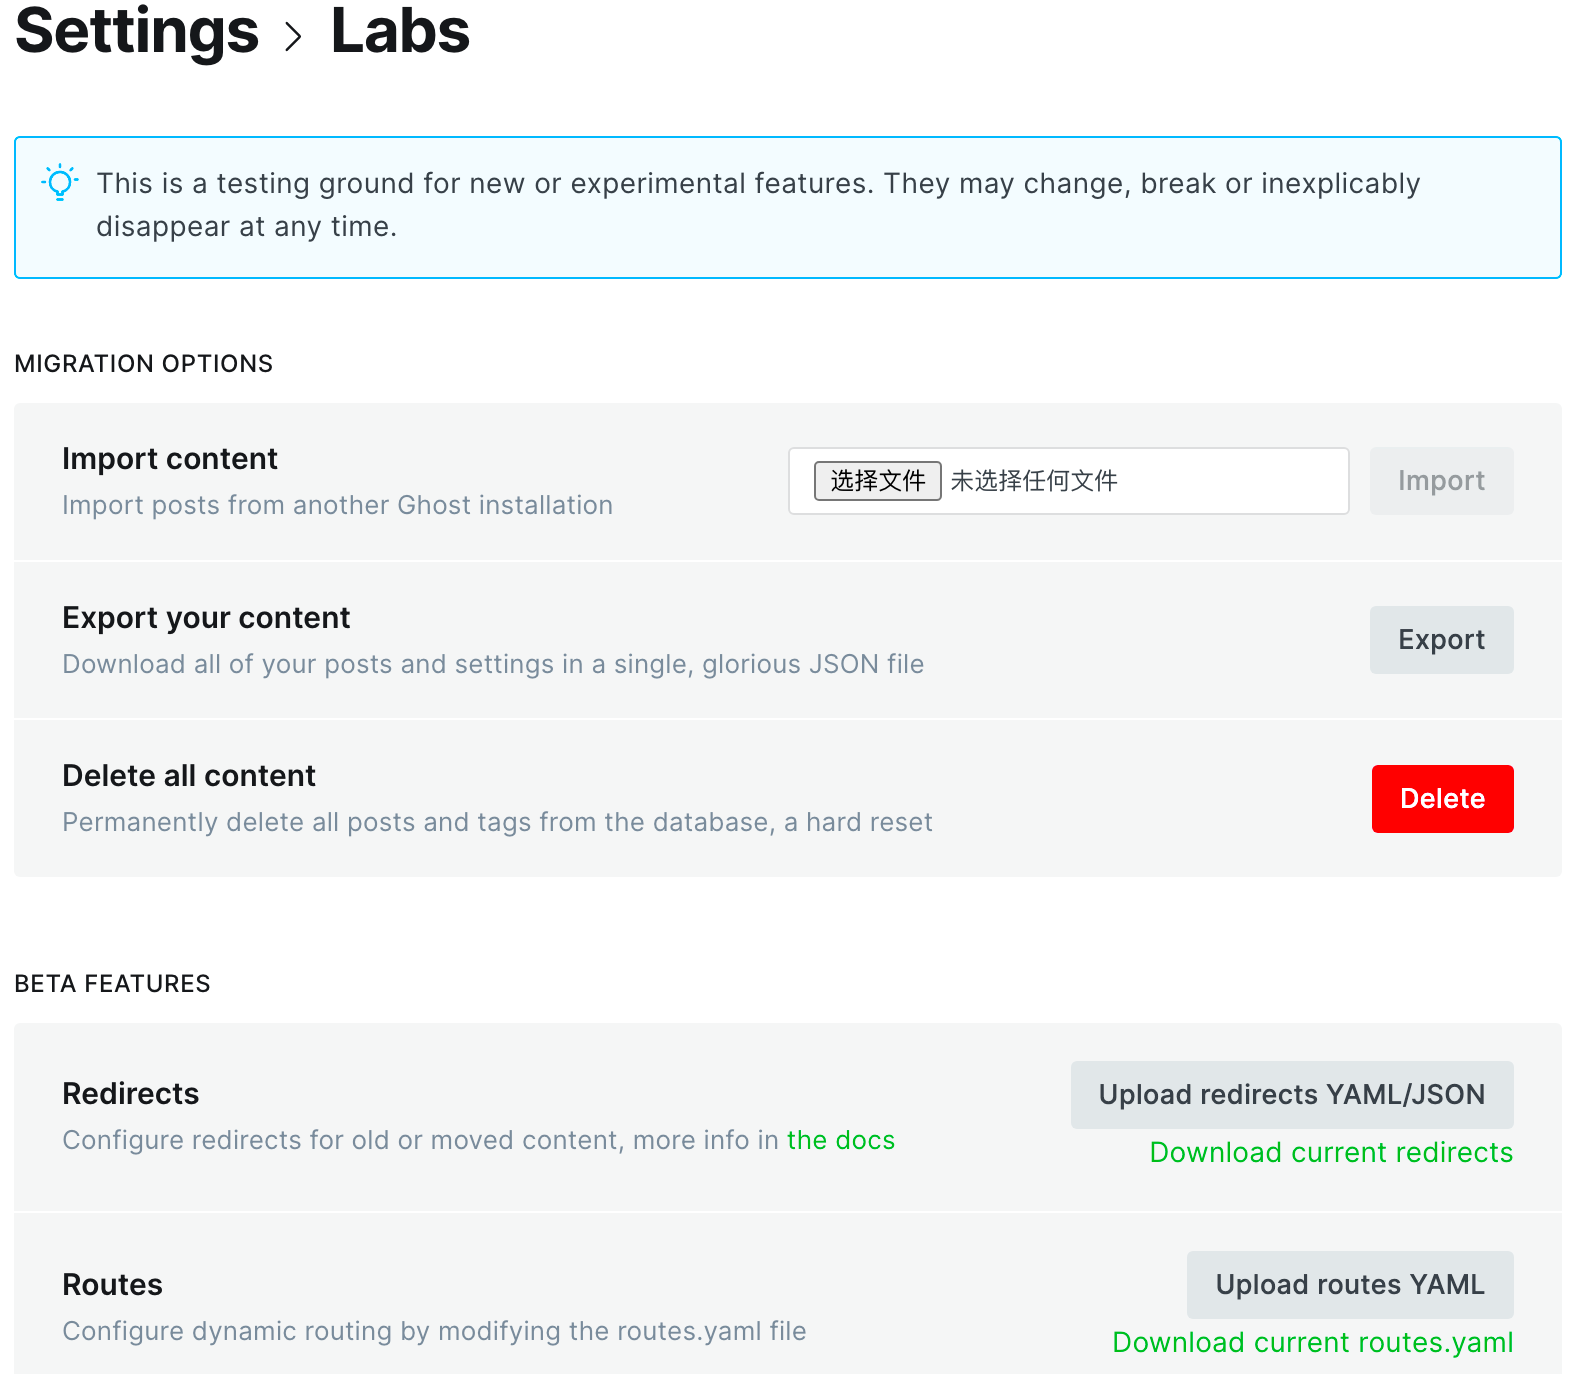
可以在 Ghost admin 面板中的 Settings --> Labs 中上传 routes.yaml 文件来配置 ghost routing:
routes.yaml 文件格式如下所示:
## routes.yaml

routes:

collections:
  /:
    permalink: /{slug}/
    template: index

taxonomies:
  tag: /tag/{slug}/
  author: /author/{slug}/
ghost routing 配置对比
- 自定义路由
routes:
  /features/: features
这样配置之后,会使博客 URL:https://blog.site.com/features 生效,同时还会使用你在主题中自定义的模版,模版文件名:features.hbs
- 集合
collections:
  /blog/:
    permalink: /blog/{slug}/
    template: blog
    filter: primary_tag:blog
  /podcast/:
    permalink: /podcast/{slug}/
    template: podcast
    filter: primary_tag:podcast
  /:
    permalink: /{slug}/
    template: index
集合是 ghost 组织所有 posts 的关键方式,集合的作用有:
- 在分页索引路径上显示其中包含的所有发布文章
- 管理所有发布文章的 URL 结构
- 分类
taxonomies:
  tag: /tag/{slug}/
  author: /author/{slug}/
分类就是对所有发布的文章按照某个关系(例如 tag、author)进行分组
网站结构化
很显然如果我需要对我的 ghost blog 进行结构化管理,那么需要借助 collection 即集合来实现。
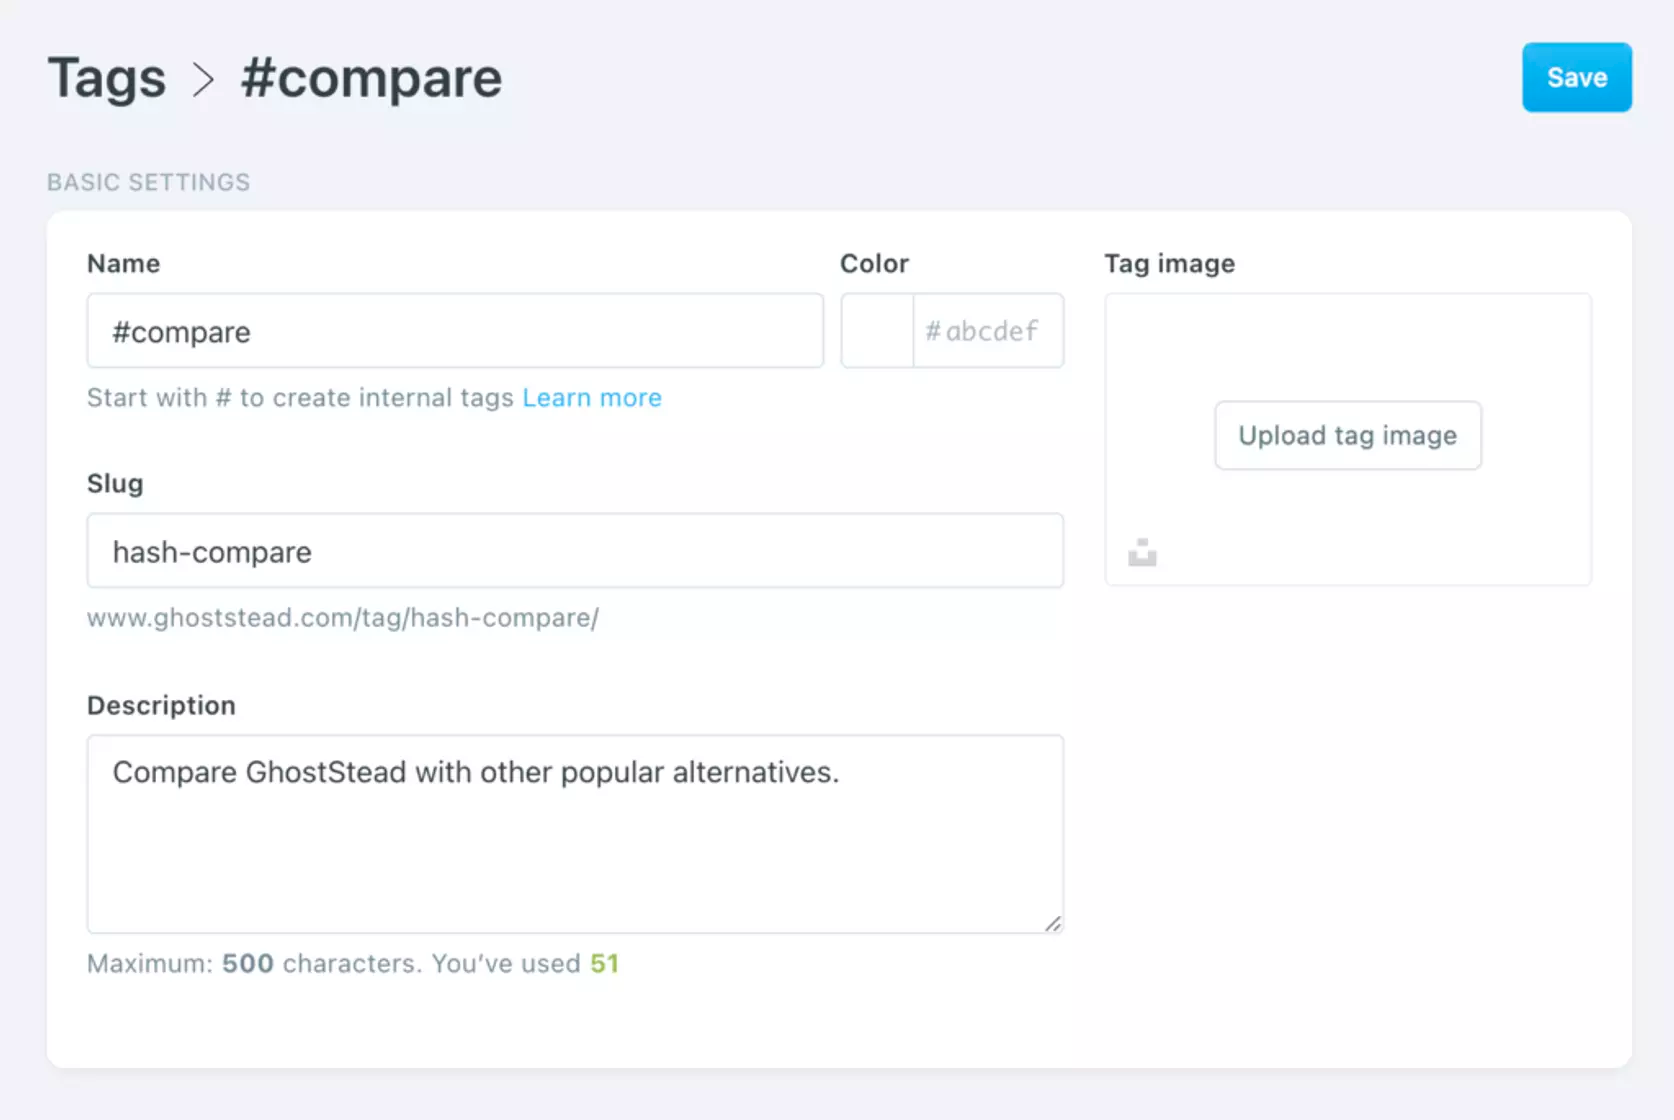
创建 internal tag
在 Ghost Admin 面板 Tags 页面新建 internal tag,并且填充相关的元数据。
增加自定义 collection
在 routes.yaml 文件中增加 collection 定义,如下所示:
routes:
  /:
    template: home
    data: page.home

collections:
  /compare/:
    permalink: /compare/{slug}/
    filter: tag:hash-compare
  /blog/:
    permalink: /blog/{slug}/
    data: page.home
  /:
    permalink: /{slug}/
    template: index

taxonomies:
  tag: /tag/{slug}/
  author: /author/{slug}/
这里有一个需要注意的地方,collection 是按照顺序解析的,所以 compare 和 home(/) 的先后顺序要控制好。
应用 internal tag
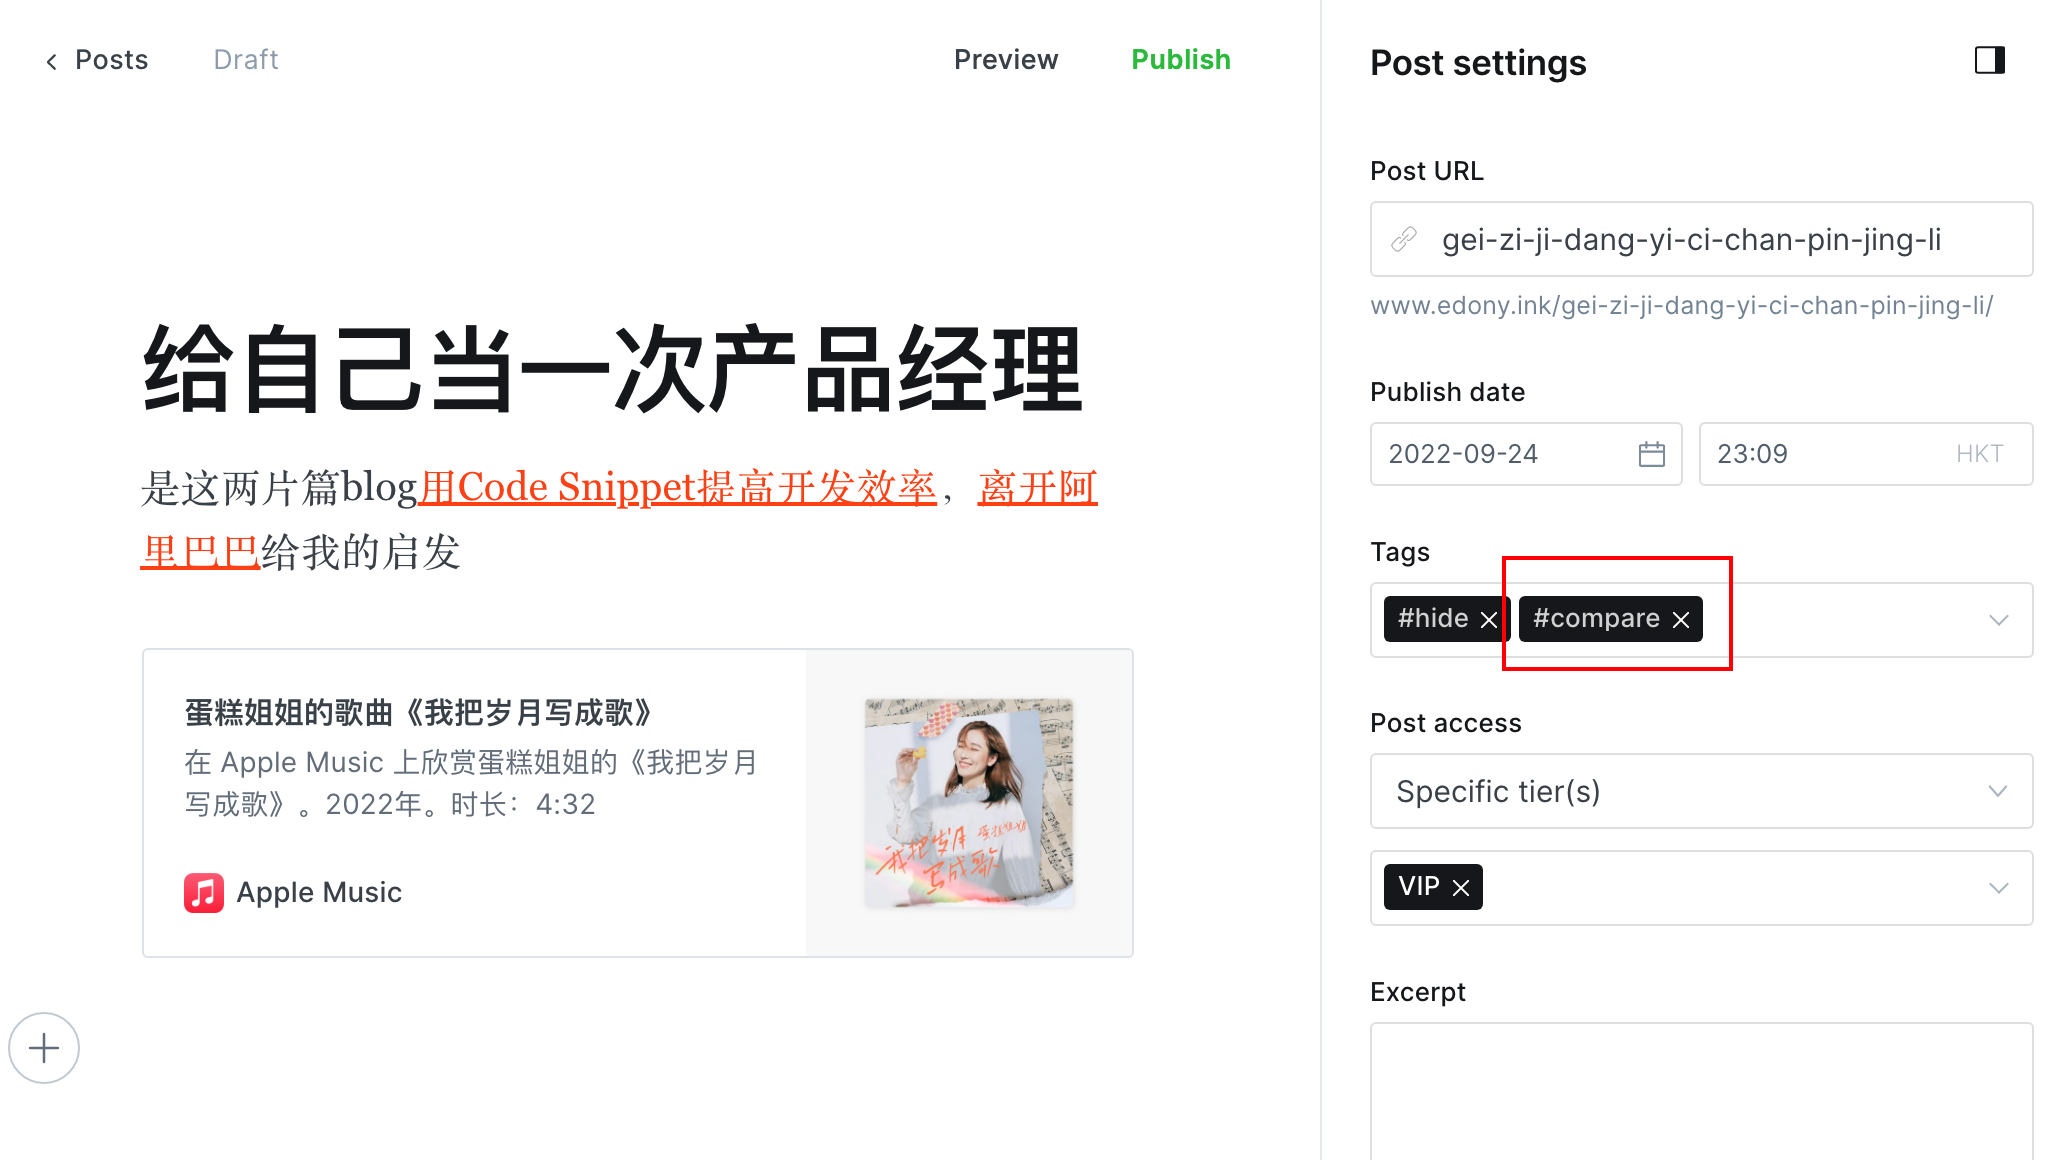
对需要归类到对应 collection 的 post 增加前面定义的 internal tag。
自定义 page index 模版
为 collection 创建索引模版,让每个自定义 collection 都有自己的 homepage。在自己 ghost theme 中创建模版文件,以上面我的博客 twitter collection 为例,即在我的 ghost theme 中创建一个名叫 custom-page-twitter.hbs 的文件,具体文件内容如下所示:
{{!< default}}

<div class="content-area">
    <main class="site-main">
        {{#post}}
            {{> content width="narrow"}}
        {{/post}}
        <div class="post-feed container medium">
            {{#get "posts" limit="all" filter="tag:hash-twitter" order="published_at desc"}}
                {{#foreach posts}}
                    {{> "loop"}}
                {{/foreach}}
            {{/get}}
        </div>
    </main>
</div>
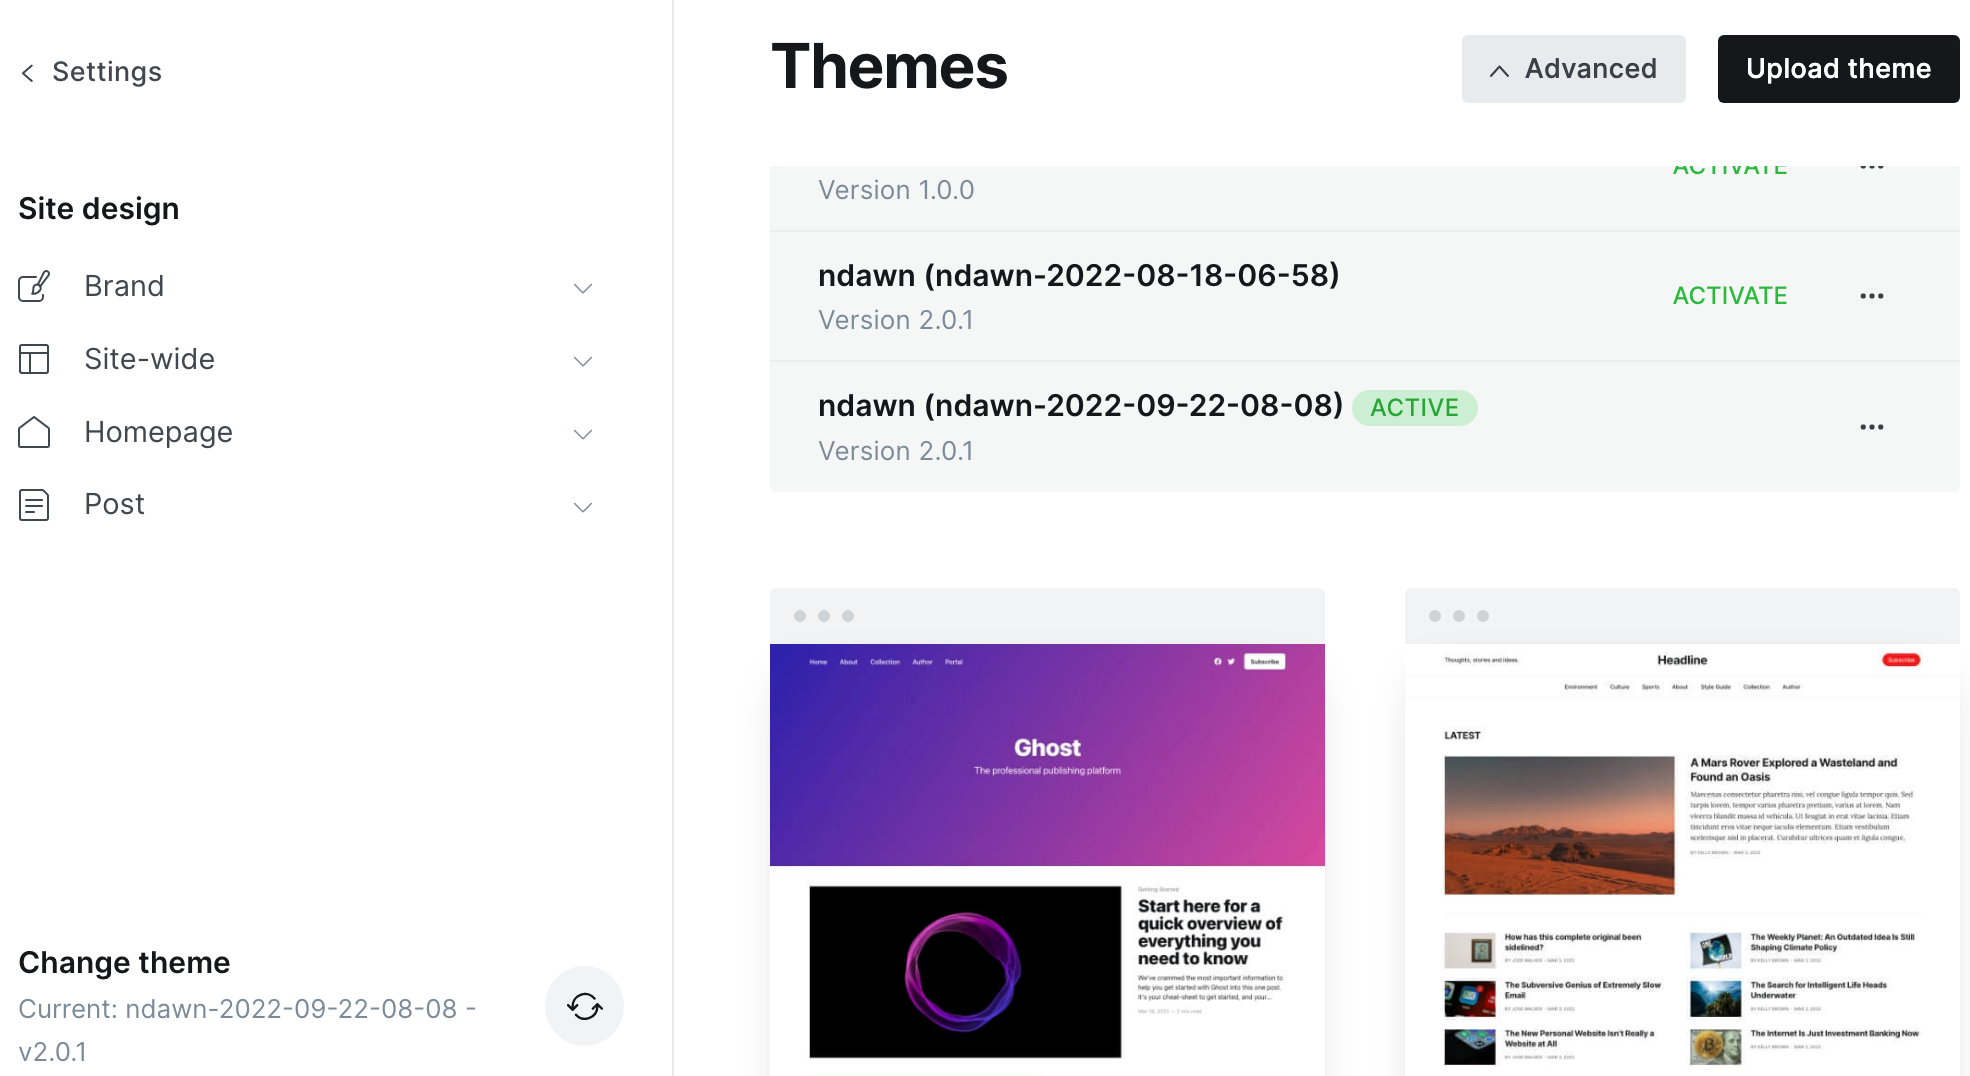
然后通过 ghost admin 面板对 ghost theme 进行更新:
创建 page
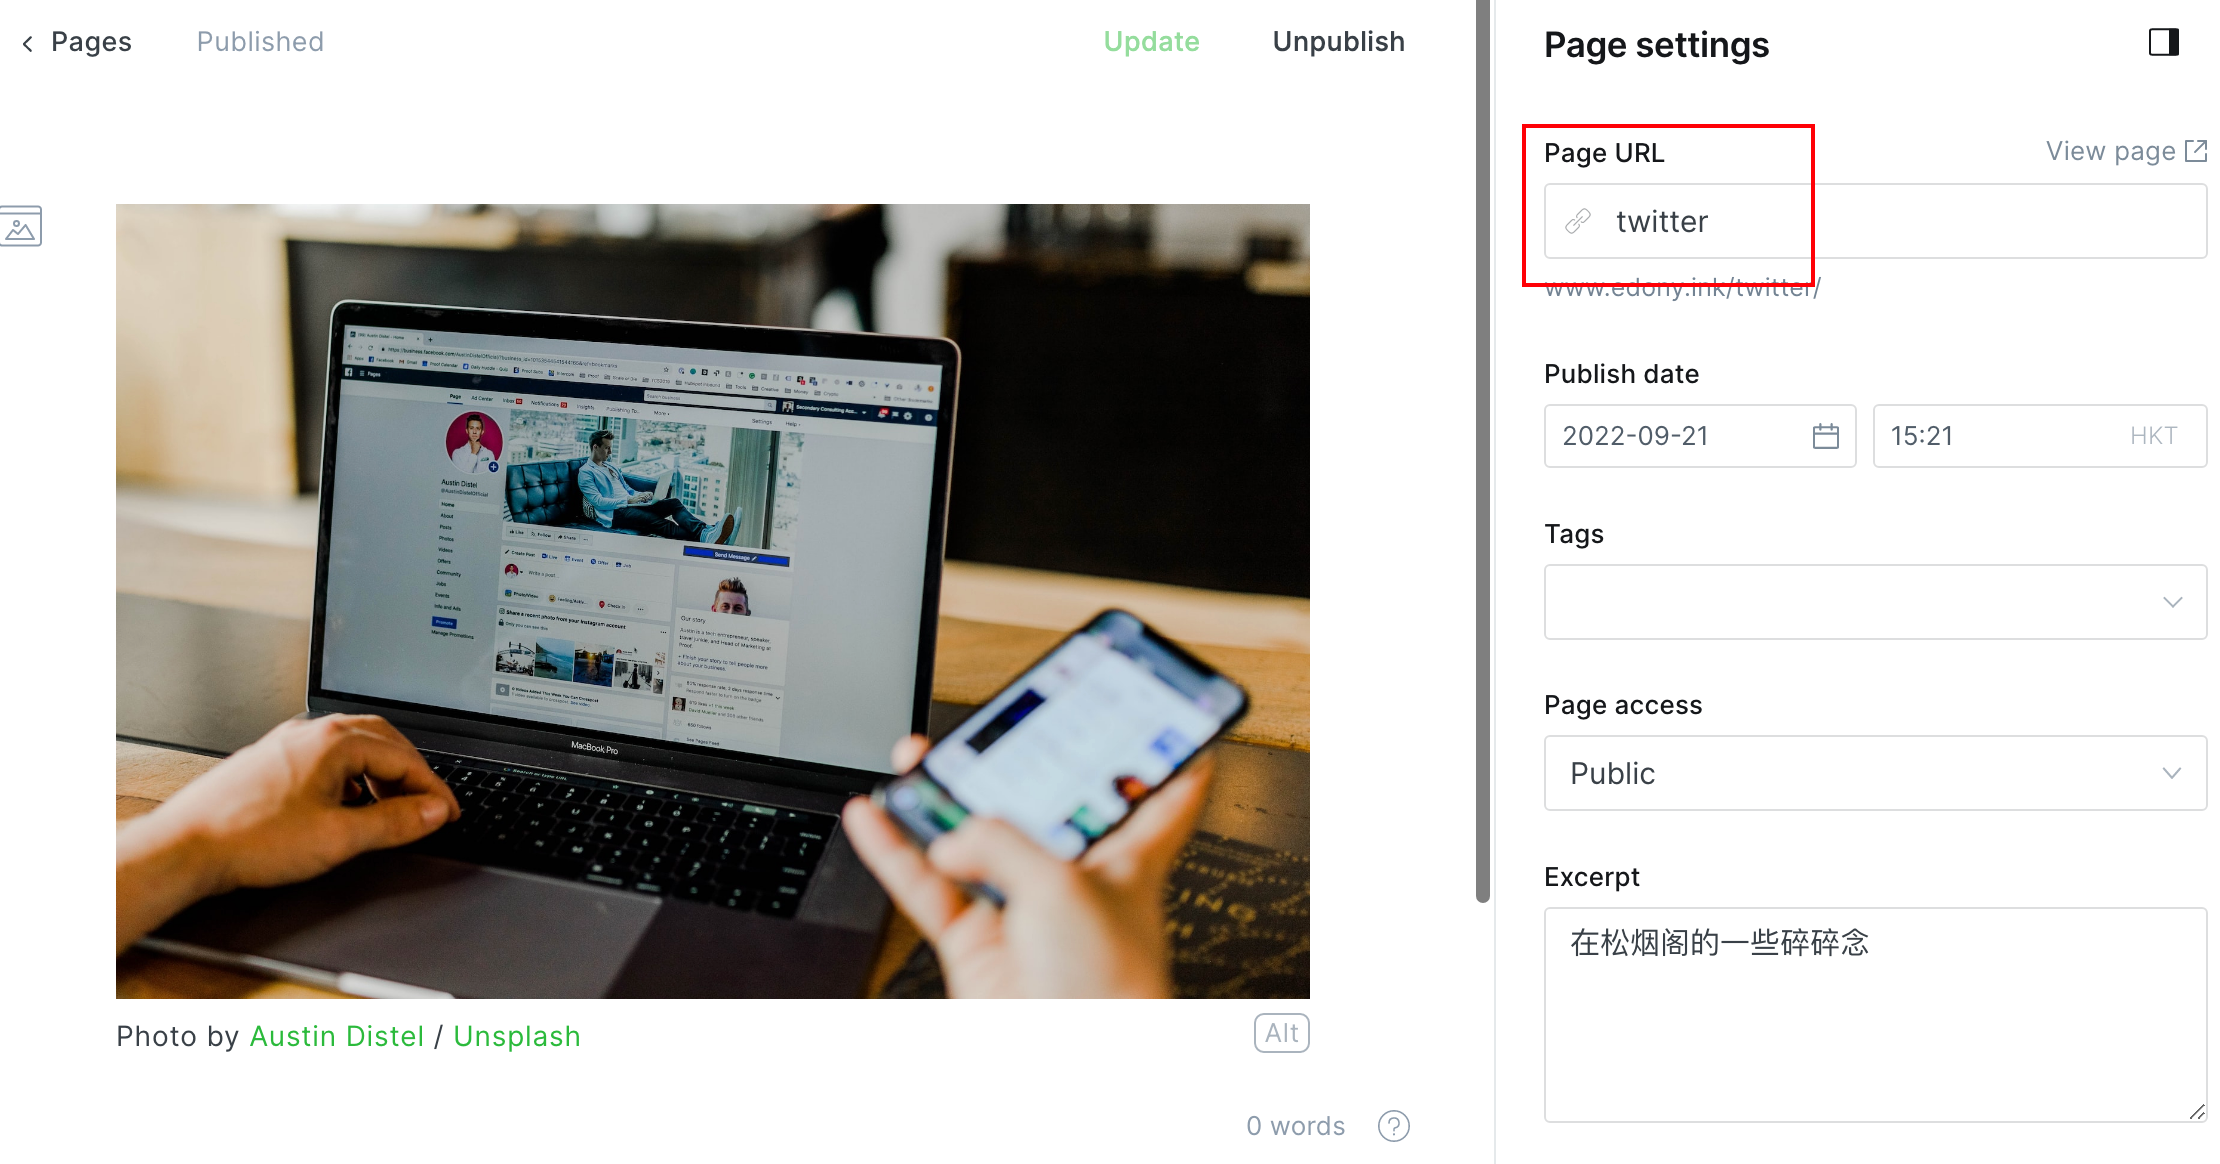
在 ghost admin 的 Pages 中创建一个 page,注意 page URL 需要跟 collection 同名,以 https://edony.ink/twitter 为例,page 如下所示:
总结
有利用 ghost collection 对网站进行结构化的方法之后,我们就可以轻松改进网站的导航和 UX 设计。